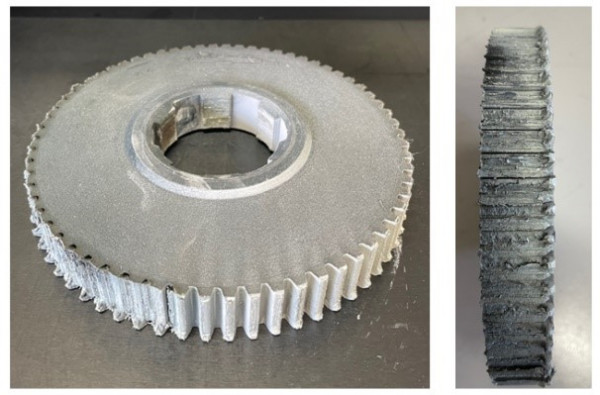
The answer is 3D scanning and reverse engineering. Using 3D Scanning technology the gear can be scanned, then the scanned data can be inputed into 3D design software where the teeth that are intact can be arrayed in the exact PCD (Pitch Circle Diameter) of the teeth to generate the new 3D model.

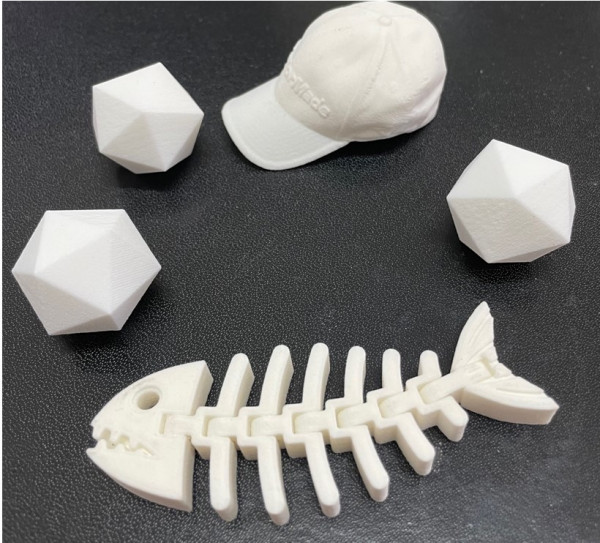
The challenges with 3D scanning is that the object that requires scanning needs to have distinguished features to pick up, flat or symmetrical objects are very difficult to scan, one options is to use reflective 3D markers that is supplied with the Einscan range, or an even easier and quicker option is to add random objects that can be placed onto the gear, for this exercise we used these:
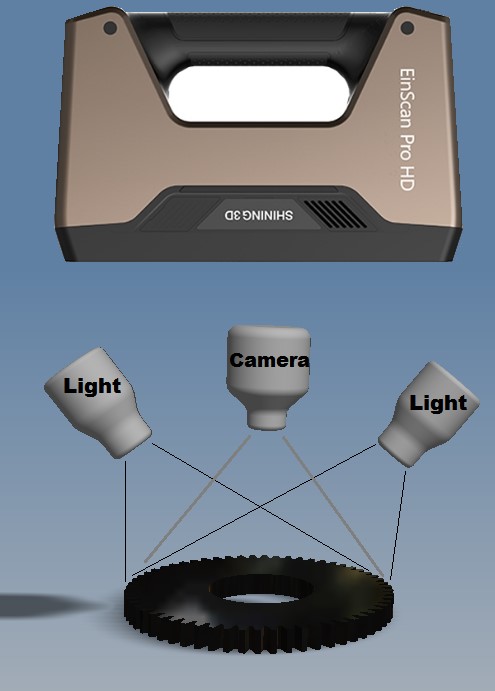
The 3D scanner capable of scanning the gear at an accuracy of 50 microns (that’s 0.05mm) is the Einscan Pro HD https://www.cammpro.com.au/products/3d-scanners/einscanprohd3dscanner/ . Using structured light technology the scanner projects structured light from either side of the scanner, then the camera at the centre captures the shape of the deformed light on the surface of the object.
The object is scanned using a turntable and tripod, this is an optional extra with the Einscan HD called the industrial pack, which is incredibly efficient. The part is placed onto the turntable then the turntable is set to rotate and stop every 36°, so after 10 increments the part is fully scanned:
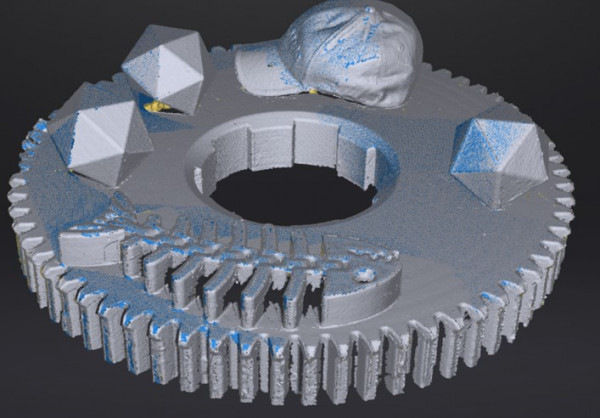
The random 3D printed parts can then be easily deleted:
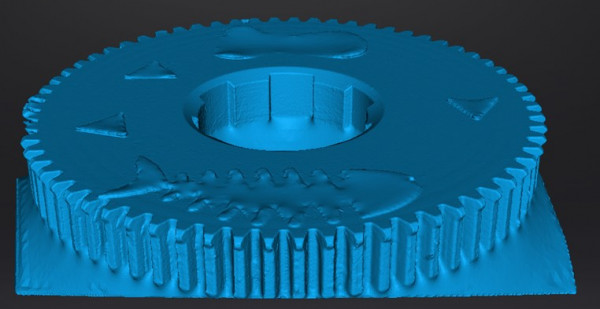
The information captured by the camera is then sent back to the Einscan software. Using triangulation algorithm, the objects depth and measurements are calculated to generate an accurate 3D surface.
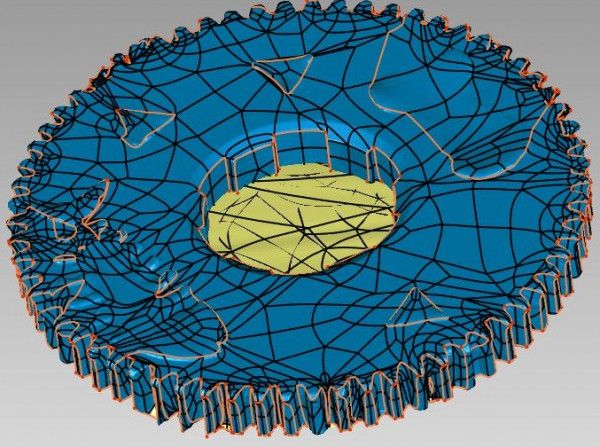
In most 3D scan cases the scanned objects are flipped/rotated to scan a full 360 of the part, but in this circumstance only the external profiles of the gear is required. Then, the scanned STL file is exported to Geomagics. By using the function “Create by Section” a plane can be inserted at the exact location where the required features are present, then the surfaces are cut to generate a curve:
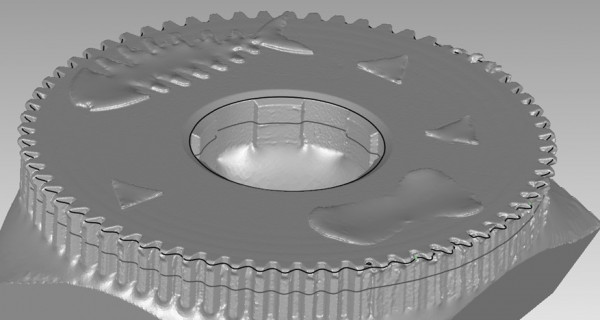
The curve can then be exported as a STEP file into Autodesk Inventor:
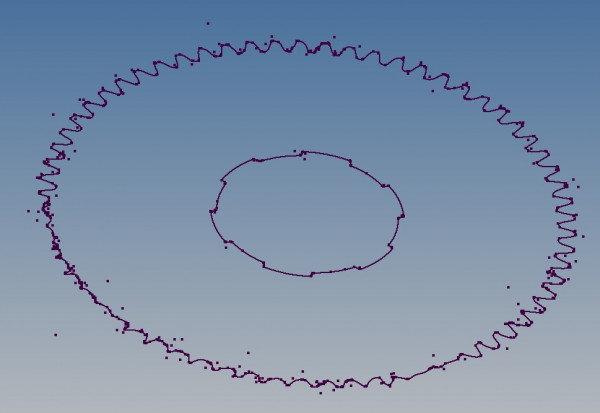
Now the reverse engineering can begin:
Internal and External Diameters can be accurately found and double checked to the physical part.
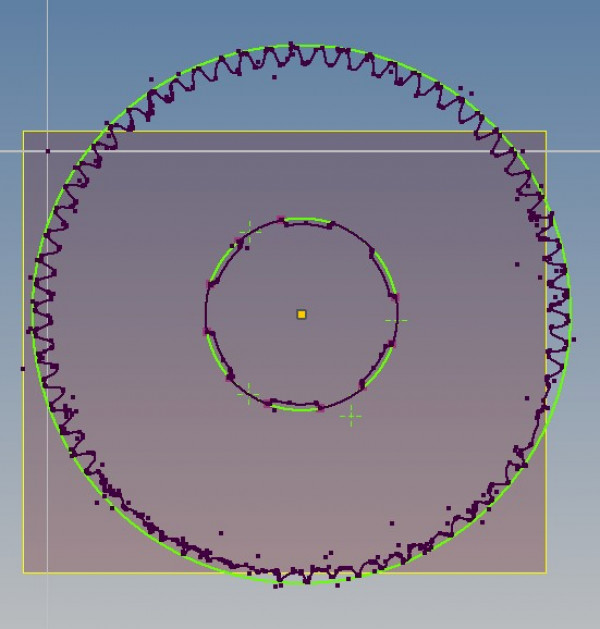
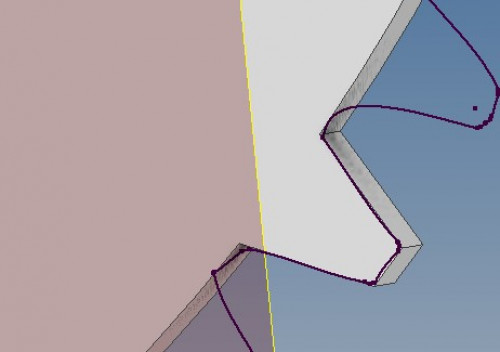
The most intact tooth was used to replicate:
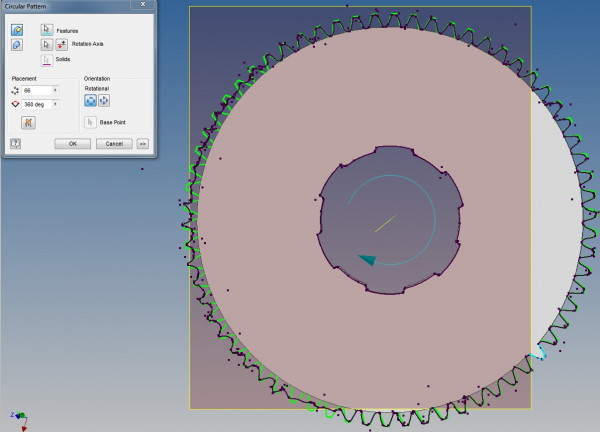
Then the tooth was patterned to have the exact number of teeth as the original:
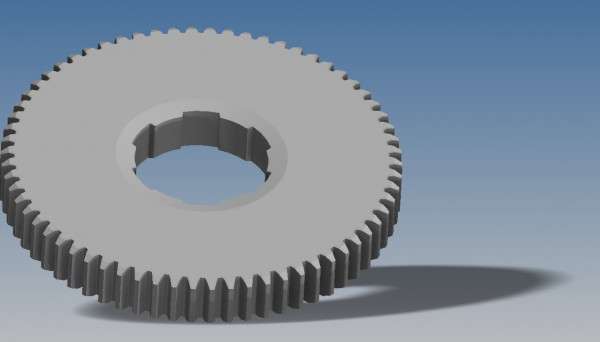
A few more details completed then the final 3D model is complete:
And then CNC machined at Cammthane:
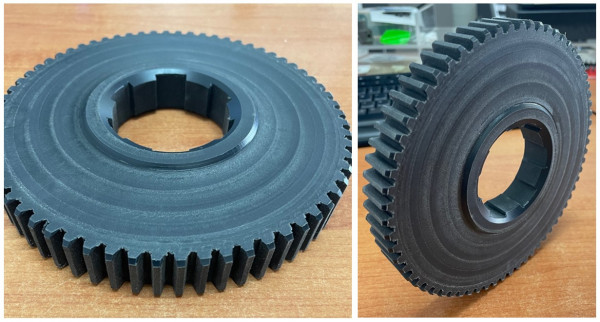
Completed by Gavin Biggs - Cammpro Engineer 21/06/2021
Tags
#3dprinting; #3dmodeling; #3dprint; #largescale3dprinting; #largescale3dprinter; #additivemanufacturing; #cammproadditivemanufacturing; #Cammpro; #builder3dprinters; #builderextreme; #industrial3Dprint; #largefdm3dprinter; #fff; #fdm; #engineering; #3Dmodel; #architecture; #prototypes